Discover How Much RV Maintenance Costs - Everything That Broke in One Year

We’ve officially owned our home on wheels for one year! Find out everything we’ve had to fix in it during that time and what it ended up costing us.

This post may contain affiliate links where I earn a small commission when you make a purchase using the links at no additional cost to you.


📍- Your Home-on-Wheels

Every new RVer will hear the same recurring warning repeated throughout the start of their journey: RVs require A LOT of maintenance. Even truer is that this amount of maintenance skyrockets if you plan to live and travel in your RV full-time. While this nomadic lifestyle is sought after by so many who wish to attain a new-found sense of freedom, it’s not exactly the carefree and whimsical experience you see from van-life influencers who are so often seen staring out of their opened barn-style doors onto far stretches of lush, wildflower sprinkled meadows. As they sit, hands curled around a warm mug of coffee, sometimes a dear can be seen grazing in the distance.

If you want to take your life on the road, it is best to erase these fantasies from your mind. Full-time RVing is a lot of hard work, and sometimes it can feel like you are just living between two catastrophes. On the other hand, I must tell you that we believe this lifestyle is worth every ounce of blood, sweat, and tears that get poured into it. Nothing worth doing ever comes easy, and if it was in fact “easy” then there would be a much greater number of people who embark on the adventure.

If you are an aspiring full-time traveler, I can only assume that you are up for the challenge, just as we were when we first bought our home-on-wheels one year ago. To better prepare you for the tribulations ahead, we are sharing all the maintenance that we had to perform on our RV, as well as what it cost us, as full-time RV travelers. 

So, whether you’re here for informational purposes, or you simply would like to have a laugh at our expense, continue reading to learn about everything we did during our first year of RV maintenance, and how much it cost us.

Disclaimer

Before we jump in, I wanted to make it clear that despite the laundry list of maintenance items we’ve had to perform over this year, we still firmly believe that we have a very good RV. To be specific, we own a 2017 Forest River, Georgetown which is a 32 foot, mid-tier, motorhome. While we have heard horror stories of people being delayed on their journey due to faulty wiring, shattered windshields, and debilitating mechanical issues, we have never had an problem that has delayed us for more than a few days. We began our journey with very little RV experience, and have had to learn as we go, often making mistakes and breaking things just as fast as we can fix them. If you ask me, that’s simply been part of our journey.

The following list of maintenance projects is the reflection of full-time use for our RV and a travel schedule that has us moving locations every 7 to 14 days.

RV Maintenance Timeline

Buying Our RV - June, 2021
In the summer of 2021, Drew and I, along with our pup, Charlie, drove the six hours down to Virginia to inspect a used RV. After quickly falling in love with the rig and its previous owner, we ended up driving home with it later that day. This was only the first time, we drove for 12 hours in one day, but it would not be the last during this first year of travel.

Pictured here are the smiles of two kids who had no idea what kind of work was ahead of them.

A Clogged Water Drain - July, 2021
We actually wound up finding our first problem on a trial run to the Poconos before we even began our life on the road. Upon hooking up to city water for the first time, we found that we had no water flow in our toilet and bathroom sink. After fiddling with the pipes, we were able to find a clog of sand and calcium deposit that we successfully removed after Drew effectively plunged it with his pinky finger. This is your first indicator that our maintenance style isn’t always pretty, but it is definitely clever.

Cost: $30

A Slipping Outdoor-Kitchen Door - August, 2021
For reasons that are most likely related to shotty construction, the door to our outdoor kitchen area began to malfunction. The frame, which was connected to the hinge through a few flimsy nails, decided that it needed reinforcements. The nails had come loose, causing the frame, and internal wooden board, to shift every time we accessed our mini-fridge. The newbie RVers in us panicked, but all in all, this problem was fixed by a quick trip to Lowes, adding some heavy-duty screws to the frame to keep everything in place, and a reapplication of the silicone caulk around any seams that came loose.

Cost: $30

While we don’t have a photo of the door actually popping out of place, here you can see the reinforced screws we have used to keep everything in place since then.

Roller Damage to Our Slide-Outs - September, 2021
In case you are unaware, a common area of damage in RVs is to the bottom of their slide-outs. It is then unsurprising that we quickly noticed some damage to this area that seemed to be caused by our slide-out rollers.

Most RVs slide out atop plastic rollers which support the bottom of the RV slide. Over time, it's common for these rollers to wear away at the wood on the bottom of the slides, causing breaks in the wood which can progressively get worse over time. When I first saw this damage, I did a lot of research online about how to go about fixing it, eventually stumbling upon a Forest River-specific thread where one customer reported that if you took this problem to Forest River themselves, they would simply insert metal sheets between the rollers and bottom of your slide to add additional support. Not only did I not have the time to wait around for availability from a Forest River-approved mechanic, but this fix seemed like something Drew and I could do by ourselves.

So in the middle of my mom’s driveway, I rolled out our slide, lifted it off the rollers with the help of a car jack, and screwed in a few metal sheets between the rollers and the bottom of our slide. It was a longer process than it may sound, but it was a heck of a lot cheaper than having to pay for somebody else to do it.

Cost: $100

Here is an example of one of the rollers, and the metal sheet that we inserted between the roller and the bottom of the slides.

A Mouse in Our Furnace - November, 2021
On a chilly night in November, we lay down in our bed in the driveway of Drew’s aunt and uncle in preparation for Thanksgiving just a few days later. It must have been the moment we closed our eyes that we were startled by what sounded like a jackhammer coming from our furnace. After running out of the RV with Charlie in my arms for fear of my life, we were able to safely turn off the furnace, and open it up to find a charred mouse inside. Poor little fella thought he had hit the jackpot and stumbled upon a warm place to rest. Unfortunately, the foreign object bouncing around inside the furnace meant we were left with a broken “squirrel cage”, a strange term given to a part within the furnace motor that resembles a hamster wheel.

This was a job for a professional in our eyes, so while I am sure the part cost no more than $100, we did end up spending double to get the repair done with labor included.

Cost: $250

Here is Drew looking in our furnace, just seconds after seeing the mouse inside!

A Crack in Our Frame - January, 2022
It was on a drive while refueling at a gas station, that I noticed a small crack beginning to form at the bottom left corner of our kitchen slide. While not uncommon for stress fractures to appear on slide-out corners, this particular crack would plague my every waking thought as Drew and I mulled over possible fixes. Once again, waiting for a professional to diagnose and repair the crack could take months, a time frame that simply would not work for us at the rate that we were traveling.

After my personal research gave me little to go on, I ended up contacting a Forest River mechanic with photos of the crack, showing him how the exterior wall seemed to flex when the slide out was retracted, and asking him for his personal recommendation for an at-home solution. He explained that the weld that held that corner of the RV’s frame together had likely come loose and that I would need to figure out a way to secure it if we ever wanted the crack to stop spreading. The solution we came up with together was to send a bolt from the outside of the RV and secure it to the interior floor boards, effectively keeping the frame in place. We then drilled a small hole at the end of the crack to stop it from spreading and filled in the crack with a fiberglass repair kit, covering the entire solution with a bead of silicone.

Again I say, if we are anything, we are definitely clever.

Cost: $75

We have a little scar in our RV after this one, but what’s important is that our frame is stable and we are keeping all of the rain out.

A Rusted Actuator - February, 2022
We’ve had a long-standing rivalry with the actuator on our front door for as long as I can remember. It seems that one of the previous owners had left the door open in the rain one too many times causing the screws which held the actuator to the door to rust. By the time we got our hands on the RV, that rust had spread to the point where there were two gaping holes in the door where the screws should have been held in place. After limping along with our door held together with duct tape for several months, the solution practically came to me in a dream. We cleaned out the rusted area, applyied a healthy dose of clear Rustoleum, and purchased a tube of JB Weld Steel Stick, a magical putty that hardens like steel once dried. After shoving as much of this steel putty into the rusted-out parts of the door as humanly possible, we bought a rivet gun and put two rivets into each part of the door where screws should have been.

I’m actually pretty proud of this one, and it’s held on for almost six months at this point.

Cost: $75

Although this fix might not be pretty, it’s super tough. It actually survived our door getting ripped from my hand during a tornado!

Two Broken Vent Fans - March, 2022
Our RV has two vent fans, and wouldn’t you know it that they both decided that it was time for them to take a vacation just as temperatures began rising during spring in Texas. We took them both apart, checked to ensure that they were receiving power with our voltmater, and diagnosed our kitchen fan as suffering from a burnt-out circuit board while our bathroom one seemed to have a faulty on/off switch. Both of these parts were found on Amazon, quite inexpensively, and it took us about 45 minutes per fan to replace the parts and put them back together. I personally would have paid big money to get the vent fan in our bathroom up and running again, but the fact that this fix was actually affordable was a pleasant bonus.

Cost: $50

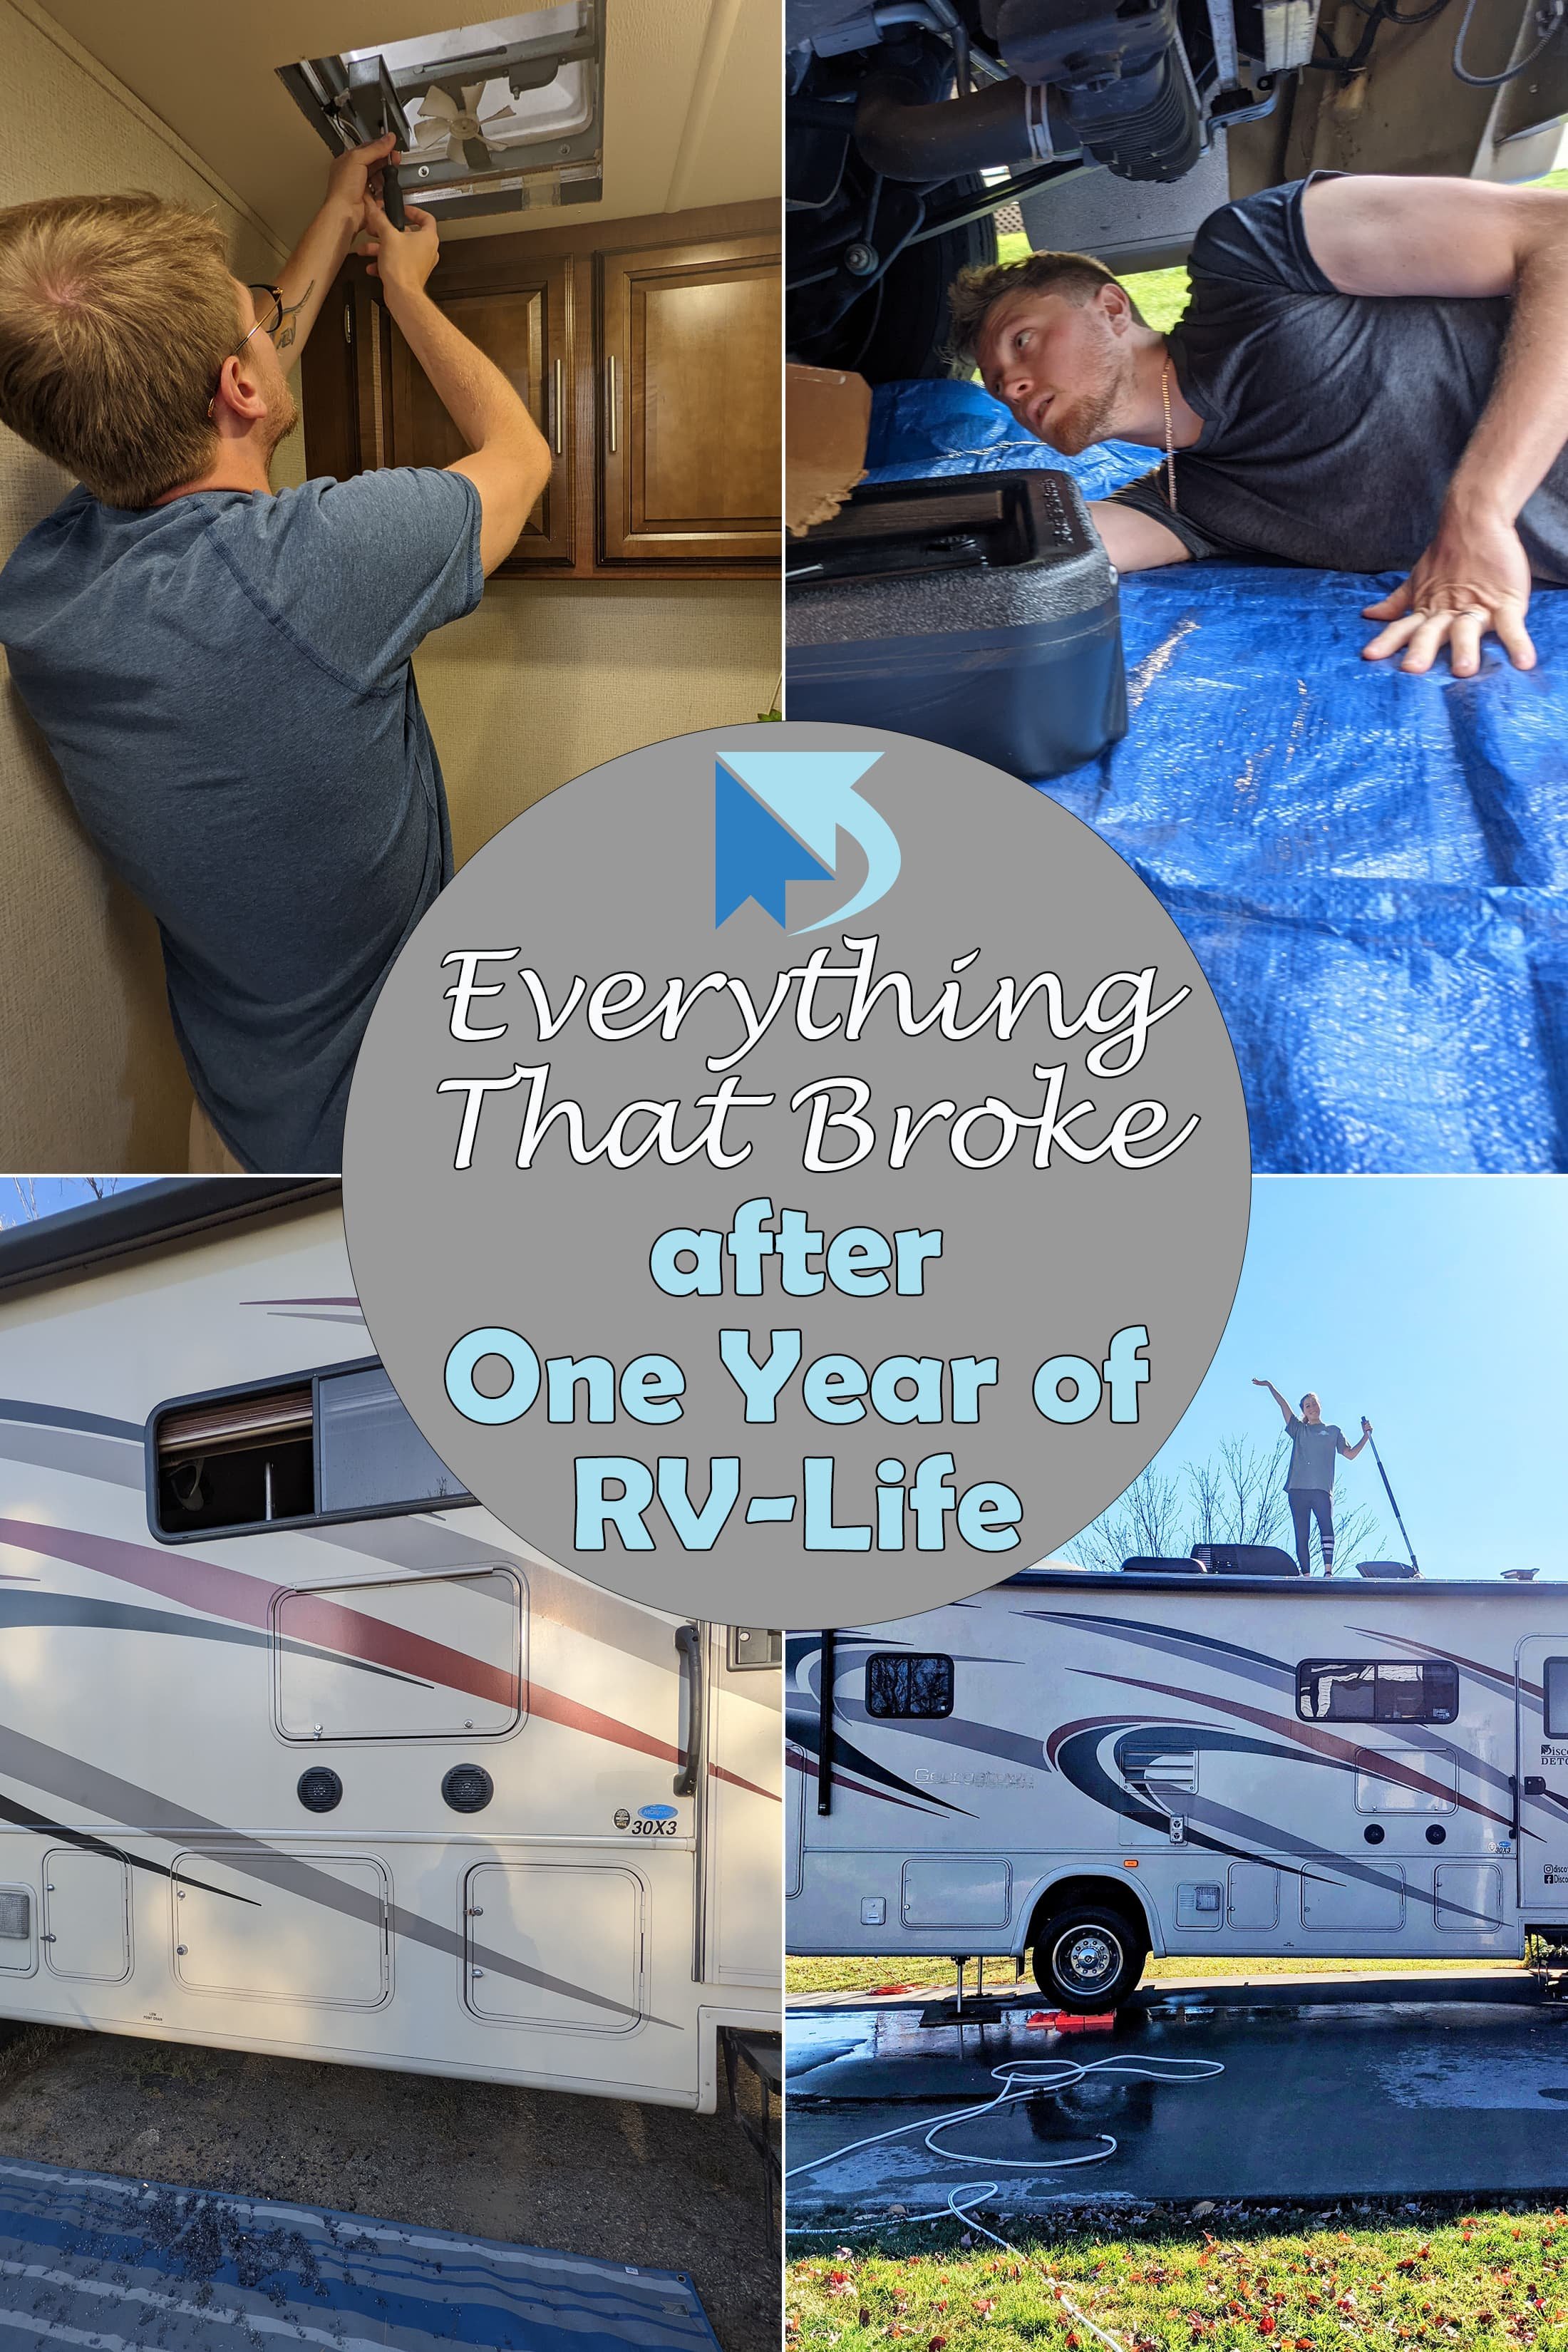
Here’s my man fixing the fan in our bathroom. If you’ve spent any time in an RV, and have experienced how paper-thin the walls are, you know that a reliable bathroom fan is a must!

A Loose Slide-Out Awning - April, 2022
Ever since we bought our RV, we noticed that the awning above our main living room slide-out was a bit loose. It would sag under the weight of water during a rainstorm and would flap lightly in the wind. It never seemed like much of a problem until we found ourselves in the middle of Utah during the windy season. If you’ve never been to this part of the country, let me just say that there is a reason why there are such magnificent rock formations in the area. The wind and uplifted sand seems to come at you in all directions, and the 65 mph wind gusts threatened to rip out the awning altogether.

It’s not particularly pleasant to see your awning fly up in a wind gust, so it was enough for us to decide that something must be done about it. That something involved climbing up on the roof, manually unwinding the awning, taking the awning fabric out of the roller, and reinserting the fabric once we had appropriately wound the roller to provide enough tension on the fabric to keep it from blowing away in the wind. Considering we didn’t need to buy any replacement parts, this fix was completely free, minus the personal costs I paid after getting a sunburn on the backside of my body from laying on the roof for so long.

Cost: $0

I wish I had a photo of our awning blowing in the wind but I was too busy panicking as this was happening. Instead, here is our awning, securely in place, with an appropriate amount of tension.

A Bent Tow Bar - April, 2022
I’m not particularly elated to share this one, so let me just rip off the bandaid. We drove for 9 months with our tow bar upside down. Yup. You read that correctly. We were complete baffoons for 9 full months!

The story goes like this. When getting our tow system installed, the mechanic, who had never installed our particular Roadmaster tow setup before sent us on our way with the towbar placed into the RV hitch upside down. This doesn’t make much of a difference beside the fact that the locking system hung below the tow bar, instead of above it. Throughout these months, we made several comments about this strange dangling piece of metal, often asking each other why it was there and what its purpose was.

Since it was the lowest piece of the tow bar, it was also the piece that took the brunt of the damage when we occasionally bottomed during our drives. Our poor tow bar lock scraped against enough driveways (sorry Mom!) until I had the fateful brain blast that if we just rotated the tow bar 180°, that stupid little loop of metal would actually hold our tow bar upright when not in use. It was a shame that the thing was pretty banged up when we were able to rub two brain cells together, so we ended up having to call Roadmaster and order a replacement part.

Cost: $20

I can’t actually believe we drove around with this bar upside down for so long. Here it is, right side up, with the locking piece in the correct position.

Some Dead Batteries - May, 2022
We were boondocking outside of the Grand Canyon when we realized that our batteries weren’t holding a charge properly. They ran out of juice almost immediatly and began putting out power with less than 11-volts, a big warning flag for batteries that are supposed to steadily supply 12-volt power. I wish I could tell you that we replaced these batteries ourselves, but the kind people at Batteries Plus Bulbs in Flagstaff actually installed our new batteries for us with no extra charge once we bought two replacement batteries at their store. Considering batteries are not cheap, and I am deathly afraid to fiddle with batteries that could turn my fingers into french fries, I appreciated the help.

Cost: $1,600

A Beeping Propane Detector - May, 2022
One night, at around 2 am, we woke up to a mysterious beeping sound coming from somewhere in our RV. It only happened about once every 60 seconds, and in between the beeps, Drew and I would wander around the RV, looking at the ceiling and inspecting our smoke detectors. After several minutes of us cursing the mysterious noise, Drew had the brilliant idea to move our trash can, and we both zeroed in on our propane leak detector. These detectors beep like this at the end of their life, and since they typically last about 5 years, this makes perfect sense considering our rig is 5 years old. Luckily, after these sleepy shenanigans, the replacement was easily found on Amazon and only needed to be wired into our electrical system, taking a total of 15 minutes.

Cost: $70

As an added bonus, we actually upgraded our propane detector to one with a carbon monoxide detector as well.

An Air Conditioner Malfunction - June, 2022
On a warm day in May, we attempted to turn on our air conditioning to get some relief from the Arizona heat, and were met with absolutely no response from the unit at all. For this one, we fiddled with it for far too long before deciding to take it into a professional, and thank goodness we finally did! They ended up finding out that our unit was installed without being properly grounded, causing the breaker to overheat to the point that it had begun to melt. After a few hours in the shop’s break room, we left with a new air conditioning unit, a fresh breaker with a proper wiring configuration, and some peace of mind. After this whole scenario, the people at RV Masters in Pahrump, Nevada will always be personal heroes of mine!

Cost: $1,100

This is probably the scariest photo I’ve ever taken. Look at how melted our breaker was!

A Shattered Window - June, 2022
Some incidents have no earthly explanation and this, my friends, is one of them. Bright and early on a Monday morning outside of Sequoia National Park, Drew and I awoke to a kitchen full of glass and a spontaneously shattered window above our kitchen sink. To this day, we have no idea what caused the damage, whether it be a bird, a rock, or an undetected fracture that gave way due to chilly nighttime temperatures. It was an unfortunate setback considering RV windows come in every size and shape imaginable, and finding a perfect fit for a motorhome that is more than a few years old can mean having to wait for weeks at a time. We were bound for Yosemite in a few days and simply didn’t have this time to spare.

To fix the window, we called around to several nearby glass shops until we could find somebody who could custom cut a piece of glass for us and get it tempered in the shortest amount of time. We had to pop out the entire window frame for him use as an outline, and while it wasn’t cheap, it was worth it to not have to live with a hole in our home for very long.

Cost: $500

Luckily, most of the glass ended up falling outside of the RV instead of into our kitchen, but it still created a huge mess and we were finding glass shards for weeks afterward.

Oil Changes - Recurring
RV oil changes can be pricey and can require appointments several weeks in advance. We learned how to do our own oil changes for both of these reasons, and have done two so far during this first year. The cost below reflects the price of oil, an oil filter, and a drip pan.

Cost: $140 ($70 per change)

That Bud Light box we actually use as a ramp to get our oil into our drip pan without splashes.

Recaulking Seals - Recurring
Every few months, you should make sure that the exterior of your RV is water tight. All you need is a caulking gun, some exterior silicone, and an observant eye to look for potential sources of leaks.

Cost: $10

Washes and Waxes - Recurring
I wish I could say that we wash the RV on a regular basis, but this tends to get done just whenever we have a spare day, which doesn’t happen very often. Still, it’s actually pretty important to make sure your RV stays clean and has an even layer of wax to protect its exterior siding. The cost below reflects the price of the RV cleaner, as well as the brush and extension pole that we use to clean the areas that are out of reach.

Cost: $40

Here I am looking cheerful while cleaning the RV roof. It actually takes us several hours to clean the RV, which I’ve heard is pretty standard.

Grand Total: $4, 060

As you can see, our total repair cost for one year of maintenance on our RV cost us just over $4,000! If this gives you sticker shock, then that’s completely understandable. That’s a whole lot of moolah, friends! Unfortunately, RVs require more maintenance than a houses do. Every time an RV moves down the road, it experiences the disturbance equivalent to a sizeable earthquake which is bound to break a few of the many moving parts that are contained inside.

The purpose of sharing this information with you is not to scare you, but to enlighten you as to what some of your own challenges may be on the road. You may get lucky and have far fewer repairs than we needed, or you may fair far worse. Life in itself is a game of chance, so don’t let the fear of receiving a bad hand keep you from living the life you have always wanted. If you’re itching to try full-time RV life, then don’t let maintenance stop you. You will figure out the fixes, and handle them as they come at you. As far as the price, I can confidently tell you with a smile that the memories we have made with our RV are nothing short of priceless.

We hope you enjoyed reading about our first year of RV maintenance! Did the cost surprise you? Let us know in the comments, and let us know about your own RV maintenance costs so that we can help other travelers together!

Thank you for joining us at Discovery Detour, where the destination is always unknown.

Madalyn Meyers

Madalyn is an author, trained ecologist, and advocate for science communication. As a resident of the road, she travels the country in her home on wheels, pausing to learn about stories of culture and science along the way. She documents these discoveries on her science driven travel blog, Discovery Detour.

Previous
Previous

Discover Your Guide to Kings Canyon and Sequoia National Parks

Next
Next

Discover How to Explore Death Valley in the Summer - A One Day Itinerary